Solar Panel Installation: The Basics
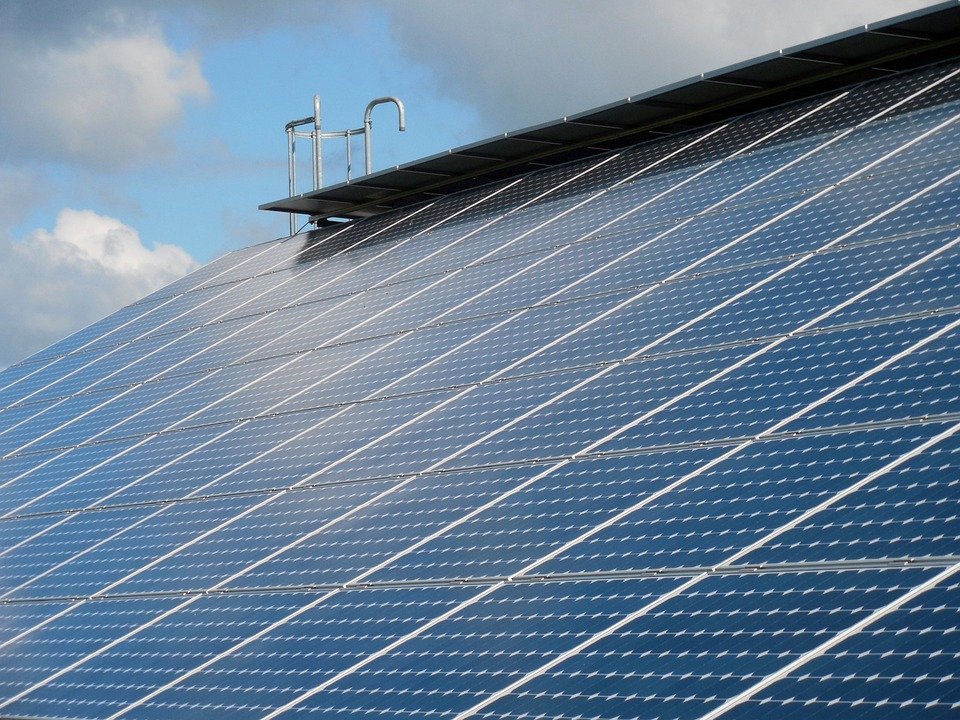
Installing solar panels on-site by yourself can certainly be an incredible cost-effective and profitable experience; you literally can save an enormous amount of money by eliminating contractors from the equation altogether and take pride in the handiwork you've done yourself. But for the fledgling solar DIY-er, understanding just how to install solar cells can seem downright daunting. Luckily, with some helpful tips and tricks, you'll be able to lay the very foundation for a successful solar energy system by following some simple instructions. The more you know up front, the less intimidating things will become.
The first thing you need to keep in mind about blue raven solar installation is that the panels themselves are pretty small, so they're not going to be too hard to install - especially if you're working alone. Before you get started, you'll want to have a sharp pair of wire cutters. It's also a good idea to wear some safety glasses or goggles, because you're going to be handling potentially hazardous materials. Also, have all the necessary tools on hand, so you won't have to waste precious time trying to figure everything out.
One of the most common mistakes people make when installing solar panels is thinking that they can "just install them and forget them." This isn't the case, however; making sure that the cells are connected properly, that the connections are tight, that you have properly oriented to the panel, and so forth, is essential to having a system that works as efficiently as possible. While you might not have to worry about things like soldering connections (the process of connecting conductors without causing any damage), you should still follow proper procedure and safety precautions in general. And by using the proper install guide, it should be relatively easy to get the job done without having to call in the professionals. You can visit this page to discover the solar savings estimate.
Once you have followed the proper steps for installing solar panels, it's time to get down to business! And while this might seem like the easy part, it can turn out to be one of the most difficult parts of the whole process, depending upon the site you choose to have your installation take place on. Depending upon where you choose to have your installation take place, it may not be easy to get an appointment with an installer at the outset. If you choose a remote site, this can pose a bit of a problem, since you'll probably have to drive several miles to meet with an installer. This can really put your solar panel installation in a tough spot.
That's why it's important to make the most of your appointment with the installer, even if it's only by having someone drop by to perform some quick measurements on the site where you have your installation process taking place. It will give you peace of mind knowing that the installation process is proceeding as intended, and that the solar panels are being installed correctly, too. In addition to making sure the measurements are taken correctly, it also helps to see any equipment (solar panels included) that the installer uses. This is not only to ensure that it works as it should, but that it's in good working order as well.
Once you've met with the installer, and the electrical panel has been mounted onto the roof (which shouldn't take more than a few hours), it's time to start enjoying your new energy system. Depending upon the size of your energy system, it may be recommended that you perform some minor repairs before the actual installation begins. For example, if you're installing your solar power system on top of your attic, there's a good chance that you'll need to tear down some attic insulation and possibly install some new, waterproofing materials. After the process of mounting and electrical panel has been completed, you should be able to enjoy the benefits of your new energy system! You'll be able to enjoy clean energy, and save money on your utility bill!
View here for more information related to this topic: https://simple.wikipedia.org/wiki/Solar_panel.